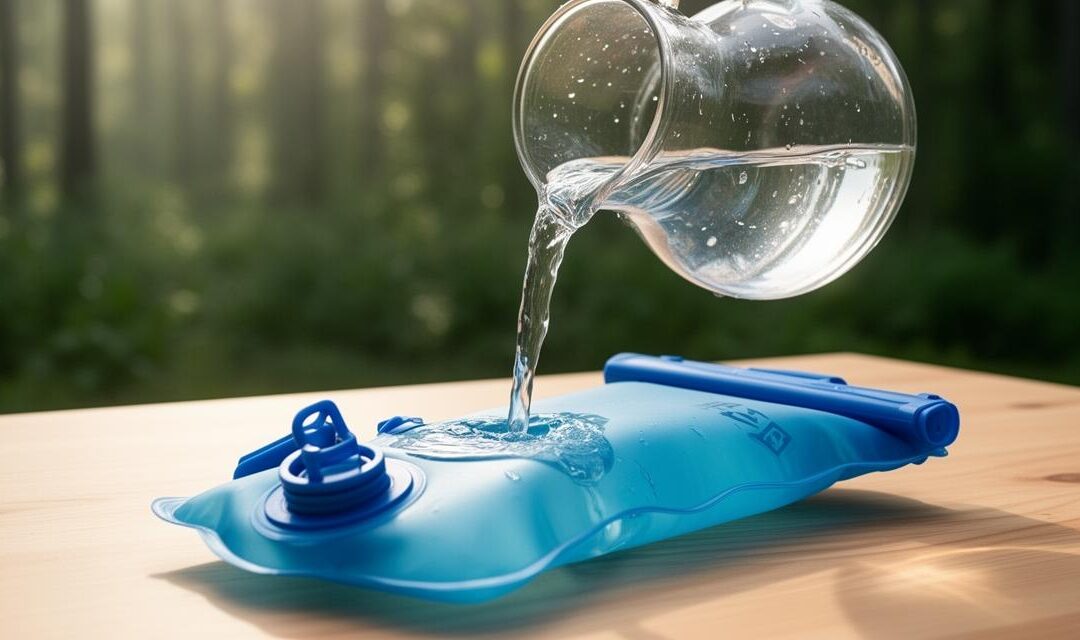
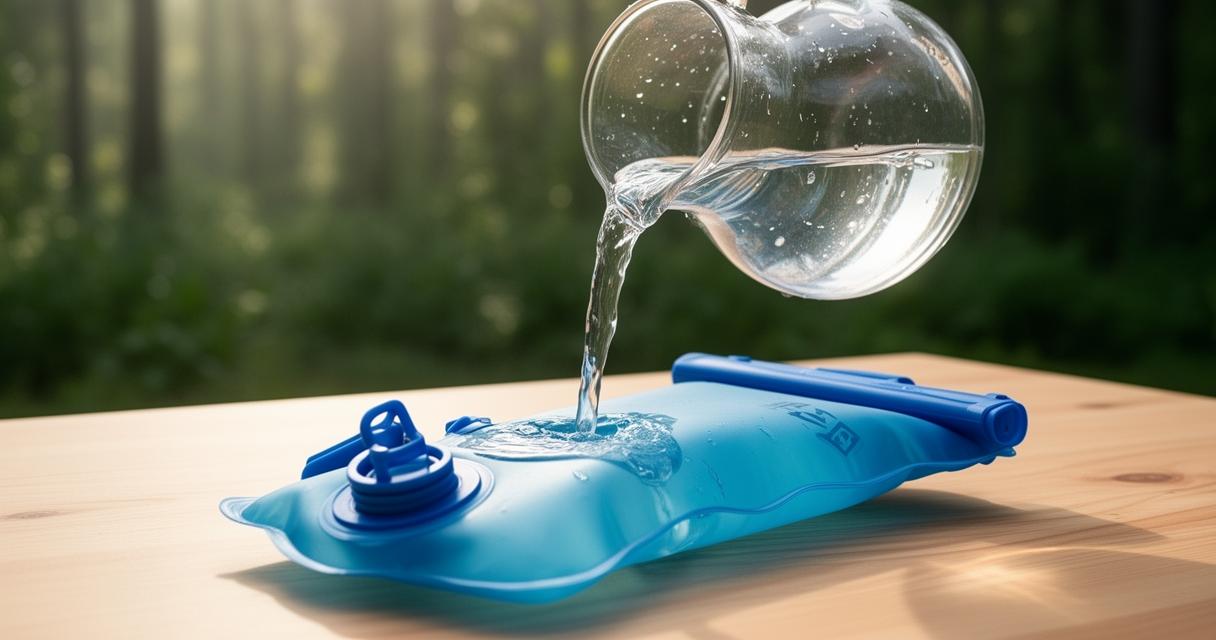
For those who venture into the great outdoors, a reliable hydration bladder or CamelBak is an indispensable companion. However, many hikers, cyclists, and campers encounter a frustrating challenge: that persistent plastic taste that can ruin the refreshing quality of your water. Understanding how to eliminate this unwanted flavour using natural and effective methods can transform your outdoor hydration experience, ensuring that every sip is as crisp and clean as the mountain streams you admire.
Understanding why your hydration bladder tastes of plastic
The science behind that unpleasant plastic flavour
The plastic taste that often accompanies new hydration bladders stems from the materials and manufacturing processes used in their production. Many reservoirs are crafted from thermoplastic polyurethane or similar polymers, which can release volatile organic compounds during their initial use. These compounds, whilst generally safe, impart a chemical flavour to the water stored inside. The intensity of this taste can vary depending on the quality of the materials and how the product has been stored before reaching your rucksack. Additionally, manufacturing residues such as mould-release agents and plasticisers can cling to the interior surfaces, further contributing to the unpleasant flavour. The warmer the water or the longer it sits in the bladder, the more pronounced this taste tends to become, as heat accelerates the release of these compounds into your drinking supply.
Common Materials Used in CamelBaks and Their Effects on Water Quality
Most modern hydration bladders, including popular CamelBak models, utilise materials chosen for their durability, flexibility, and resistance to punctures. Thermoplastic polyurethane is favoured for its ability to withstand the rigours of outdoor activities whilst maintaining a lightweight profile. However, lower-quality plastics or those not specifically designed for potable water applications can leach unwanted tastes and odours more readily. Some manufacturers employ BPA-free formulations to minimise health concerns, yet even these can harbour residual manufacturing chemicals that affect taste. The hoses and bite valves, typically made from silicone or rubber compounds, can also introduce their own flavours if not properly cleaned and maintained. Understanding the composition of your hydration system helps you select appropriate cleaning methods and set realistic expectations for how quickly the plastic taste will dissipate with proper care.
Natural cleaning methods: vinegar, baking soda, and lemon solutions
Step-by-Step Guide to Using White Vinegar and Baking Soda for Deep Cleaning
White vinegar and baking soda form a powerhouse combination for tackling stubborn plastic odours and tastes in hydration bladders. Begin by filling your reservoir about halfway with warm water, then add two tablespoons of baking soda and shake vigorously to distribute the powder throughout the interior. Next, pour in approximately half a cup of white vinegar, which will create a fizzing reaction that helps lift residues from the bladder walls. Seal the reservoir and allow this mixture to work its magic for at least two hours, though leaving it overnight yields even better results. After the soaking period, use a soft brush or cloth to scrub the interior gently, paying particular attention to seams and corners where residues tend to accumulate. Rinse thoroughly with fresh water multiple times until no trace of the cleaning solution remains. This method not only neutralises plastic tastes but also sanitises the bladder, preparing it for your next outdoor adventure. For particularly stubborn odours, repeating this process two or three times can provide the deep clean necessary to restore your hydration system to pristine condition.
How lemon juice naturally eliminates odours and refreshes your reservoir
Lemon juice offers a fragrant and effective alternative for removing unwanted plastic flavours from your CamelBak. The natural acidity of fresh lemon juice breaks down residual compounds whilst imparting a pleasant citrus aroma that replaces chemical smells. To use this method, squeeze the juice of two or three lemons into your hydration bladder, then fill the rest with warm water. Allow the mixture to soak for several hours or overnight, swirling it occasionally to ensure all interior surfaces come into contact with the solution. The citric acid works to dissolve manufacturing residues and neutralise plastic tastes without introducing harsh chemicals into your drinking system. After soaking, rinse the bladder thoroughly with clean water until the lemon scent diminishes and only a fresh, neutral smell remains. This approach is particularly appealing for those who prefer completely natural cleaning solutions and appreciate the added benefit of a subtly refreshing taste in their water during subsequent outings. Lemon juice also possesses mild antibacterial properties, contributing to overall hygiene maintenance of your hydration equipment.
Proper Maintenance and Storage Tips for Long-Lasting Freshness
Why freezer storage keeps your camelbak fresh between adventures
Storing your hydration bladder in the freezer between uses proves surprisingly effective at preventing odours and maintaining freshness. Once thoroughly cleaned and dried, placing the reservoir in your freezer inhibits bacterial and mould growth that can develop in damp environments. The cold temperatures essentially pause any biological processes that might otherwise create unpleasant smells or tastes. Before your next outing, simply remove the bladder from the freezer, allow it to thaw naturally, and rinse with fresh water before filling. This method works particularly well for outdoor enthusiasts who use their hydration systems seasonally or have extended periods between adventures. It eliminates the need for repeatedly washing a bladder that sits unused, as the freezer acts as a preservation chamber. Many experienced hikers and cyclists swear by this technique, noting that their reservoirs remain as fresh as the day they were purchased despite years of intermittent use. This storage approach pairs excellently with initial deep cleaning methods, ensuring that once you have removed the plastic taste, it remains banished.
Essential Cleaning Routines for Mouthpieces, Nozzles, and Sterilisation Tablets
Whilst the main reservoir receives most attention during cleaning, the mouthpiece, nozzle, and connecting tube harbour their own challenges for odour and taste management. These components, due to their narrow passages and constant contact with saliva, require diligent maintenance to prevent biofilm buildup that can reintroduce unpleasant flavours. After each use, disconnect these parts and flush them with warm soapy water, using a thin brush designed for tube cleaning to reach interior surfaces. Weekly deep cleaning with the same vinegar or lemon solutions used for the bladder ensures comprehensive hygiene. Additionally, sterilisation tablets designed specifically for water bottles and hydration systems offer convenient periodic sanitisation. These effervescent tablets dissolve in water to create a mild disinfecting solution that penetrates small crevices and eliminates bacteria without leaving harmful residues. Following the manufacturer instructions for contact time, typically around thirty minutes, then rinsing thoroughly restores your entire hydration system to optimal condition. Establishing a regular cleaning routine that addresses all components, not merely the reservoir itself, guarantees that your water tastes fresh and clean on every outdoor excursion, allowing you to focus on the adventure rather than worrying about unpleasant flavours.